 Photography is a critical element in the design of an engaging website. Pictures show off products, set the tone of a site, and elicit emotion. When budget and schedule allow, we recommend collaborating with a professional photographer for the best composition and quality. That said, we receive (and take ourselves!) a lot of photography straight off the ol’ iPhone. And hey, those photos are free, fast, and easy. (…all of our photography friends cringe simultaneously…) But lets make the most of those shots! Read on for our top tips…
P.S. the new iPhone 6 camera looks pretty darn amazing!
TIP 1: Don’t zoom

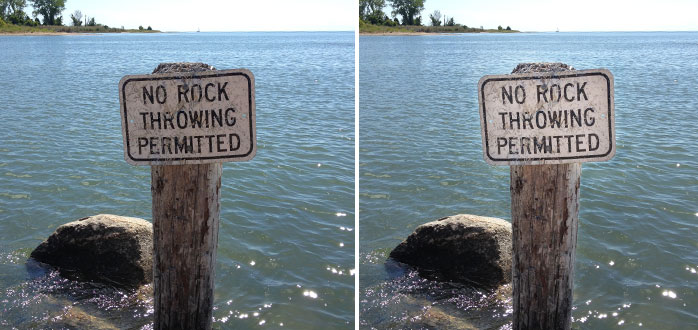
The image on the left is clear and crisp. The image on the right is starting to look grainy when zoomed in.
When you zoom in on your iPhone screen, you instantly lose quality. Your crisp, in-focus image becomes pixelated and grainy-looking. Instead, walk closer to your subject whenever possible. Zooming in is great for checking out details of a photo after you take it. But don’t zoom in at all when taking the shot.
TIP 2: Go horizontal

These images were taken down the road from our studio. The one on the right would be killer in a website slideshow.
Most current websites feature large, wide-scale photography. Vertical photos usually don’t translate well into these proportions, even if you enlarge the photo and crop some of it off. If you take horizontal-oriented photos, you will have more options for slideshows or header images on your site.
TIP 3: Find your best angle
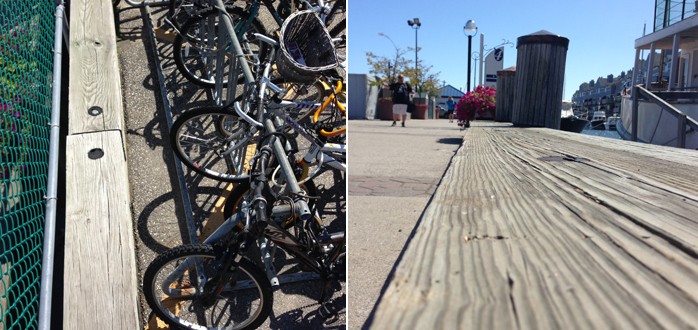
Tall, short, or in between… you may not be the RIGHT height to take the photo. Experiment with getting down low – (kneeling, laying down) and also getting up high– (standing on a chair, climbing up a hill, looking down from a ladder). This can make a huge difference when you’re aiming for an impactful and dynamic image.
Your camera likely defaults to the flash-on mode, even when there is plenty of light. We recommend keeping the flash off. Flash tends to add glare and overexposes the photo. Natural light is the best light. However, if you are taking photos in the dark, we love this great trick that was posted by Alexis Kleinman on the HuffPo earlier this summer.
TIP 5: Can we please focus?

By tapping the screen on the area where the flowers were, the camera understood that is what we intended to shoot.
Blurry photo = bad photo. Here’s a trick to get your camera to focus. Tap the screen where you want to focus. It helps the camera understand what you are looking at. By doing this, you will also notice how the camera adjusts to the light. *Added Tip: Tap the screen to get different lighting effects (i.e.: at sunset, tapping where the sky is versus the landscape can make a more dramatic image.)
TIP 6: More is better
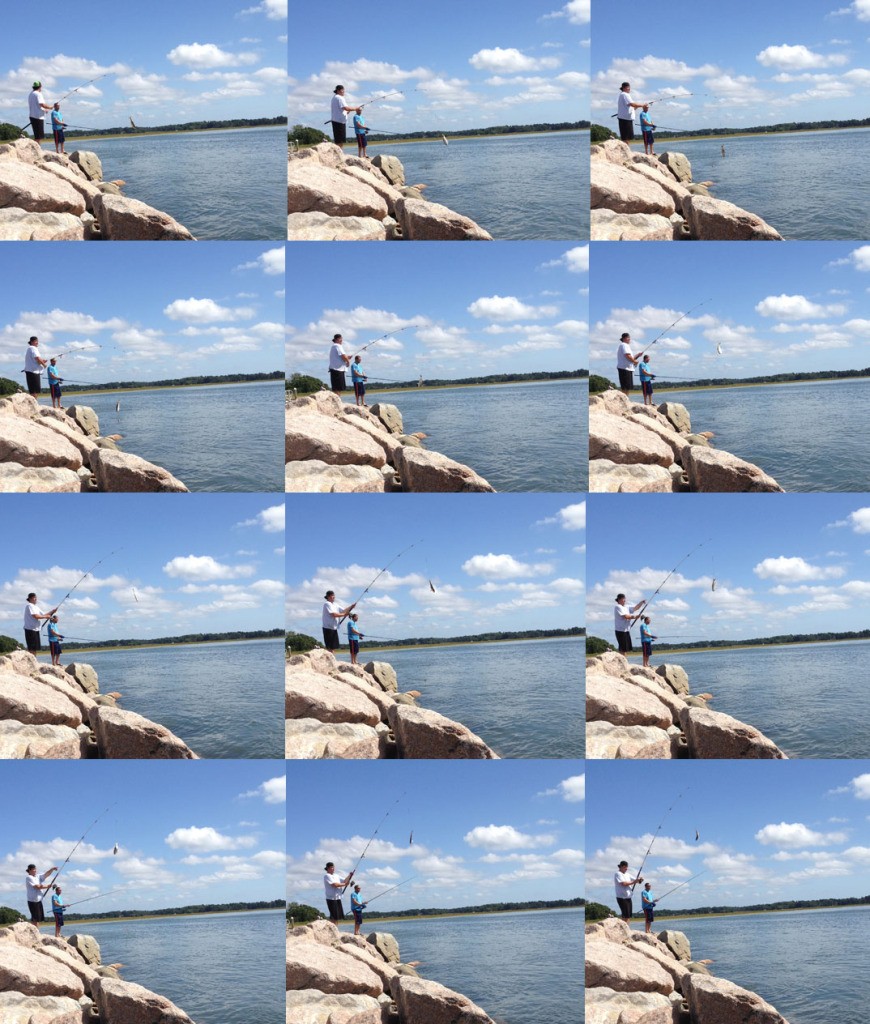
Why take one photo when you can take 10? To get the perfect action of portrait shot, try “burst mode“. Simply hold down the shutter release button and it will continue to snap shots! (10 photos per second on the iPhone 5s and a little slower on older iPhone models.)
TIP 7: Secret buttons
Did you know that there are alternate buttons you can use to snap your photos? The on-screen shutter release can be tricky to press, especially when your photo necessitates a one-handed click. Try using the volume buttons. Yup, those volume buttons on the left side of your iPhone can be pressed to snap your shot. Bonus: Successful selfies without go-go-gadget arms.
TIP 8: Undercover photography

I was able to take this pic of everyone having their lunch at the Portland Lobster Co. without being too obvious thanks to my trusty headphones!
This goes along with tip #7. Do you ever find yourself wanting to take a photo without people noticing? We have a solution for the street-shy photographer. Use a pair of headphones that have a built-in volume control (like Apple’s do). You can use the headphone’s volume buttons as a shutter release. Passers-by will just assume you’re listening to music. Sneaky, eh?


 The Bubbler is a place we put all of the project bragging, inspirational, technical and sometimes witty moments which bubble to the surface while working in the design world and playing around our fine coastal city, Portland, Maine.